Driver:pc1640: Difference between revisions
m (formatting) |
m (formatting) |
||
| Line 221: | Line 221: | ||
<ol> | <ol> | ||
<li>enable the UI mode [[#Useful Keyboard Shortcuts ]]</li> | <li>enable the UI mode [[#Useful Keyboard Shortcuts ]]</li> | ||
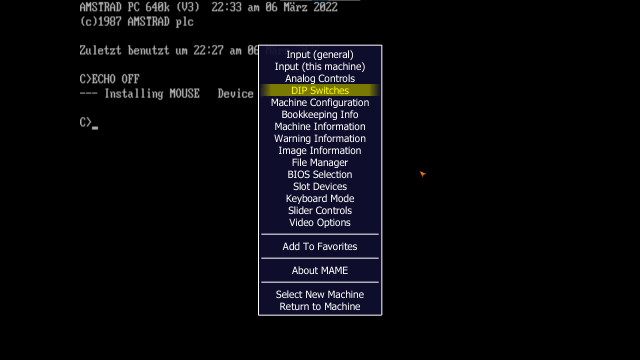
<li>enter Mame Menu → DIP Switch settings [[File:Mame_Menu_toDIP.png |640px|Enter DIP Switch settings here]] </li> | <li>enter Mame Menu→DIP Switch settings [[File:Mame_Menu_toDIP.png |640px|Enter DIP Switch settings here]] </li> | ||
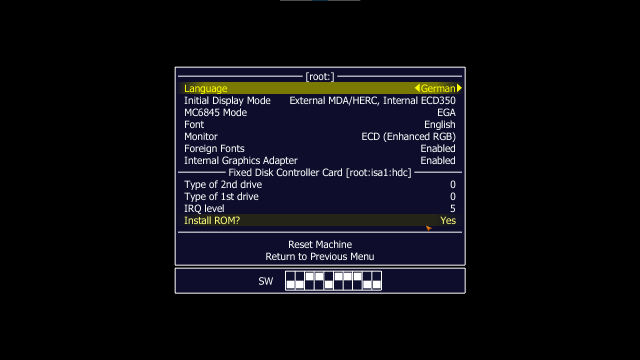
<li>check your values (I had my setup in german language, you probably want english instead) and adjust to your needs [[File:Mame_DIP_Switches_EGA.png |640px| compare to your settings and adjust]] </li> | <li>check your values (I had my setup in german language, you probably want english instead) and adjust to your needs [[File:Mame_DIP_Switches_EGA.png |640px| compare to your settings and adjust]] </li> | ||
<li>Mame Menu →Machine Configuration to [[File:Mame_machineCfg.png |640px|Machine Configuration additional menu]]</li> | <li>Mame Menu→Machine Configuration to [[File:Mame_machineCfg.png |640px|Machine Configuration additional menu]]</li> | ||
<li>Reset the device with <F3></li> | <li>Reset the device with <F3></li> | ||
</ol> | </ol> | ||
Revision as of 10:58, 9 March 2022
Amstrad PC1640
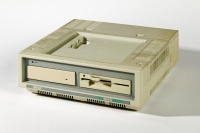
This page is dedicated to the Amstrad PC1640 and how to emulate it in MAME
Prerequisites
If you want to emulate the Amstrad PC1640 you will first need the Amstrad PC1640 BIOS Files
As of Mame 0.235 (probably also earlier) I found no changes in the checksums of the BIOS Files compared to the recent version Mame 0.240
| File Name | Size | CRC | SHA1 |
|---|---|---|---|
| 40044-1 8809.ic132 | 8192 | f1c074f3 | a055ea7e933d137623c22fe24004e870653c7952 |
| 40043-1 8809.ic129 | 8192 | e40a1513 | 447eff2057e682e51b1c7593cb6fad0e53879fa8 |
| 40044 8738.ic132 | 8192 | 43832ea7 | eea4a8836f966940a88c88de6c5cc14852545f7d |
| 40043 8738.ic129 | 8192 | 768498f9 | ac48cb892417d7998d604f3b79756140c554f476 |
| 40044 88xx.ic132 | 8192 | 6090f782 | e21ae524d5b4d00696d293dbd4fe4d7bca22e277 |
| 40043 88xx.ic129 | 8192 | 9219d0aa | dde1a46c8f83e413d7070f1356fc91b9f595a8b6 |
| 40042.ic801 | 1024 | 607edaf6 | 4422c6475596c3881c11b6a6266811c336d55d19 |
| 40100.ic913 | 32768 | d2d1f1ae | 98302006ee38a17c09bd75504cc18c0649174e33 |
These files are necessary to emulate the Amstrad PC1640.
As it is policy that no Rom Files are distributed here , please use your googleFu (or whichever search engine you prefer) to find an Internet Archive of these Files.
They can be placed directly in Mame's Rompath or you can put them in .7z or .zip archives (named pc1640.zip/pc1640.7z)
System Disks EN,FR,DE
After you succeeded finding the roms, you will still need something to put into the "Disk Drive"
I am happy to provide the set of necessary disks here
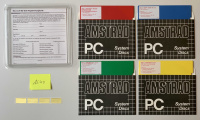 Amstrad PC1640 System Disks EN,FR,DE
This Archive can be places either in the same Rom Folder where the BIOS resides or to keep a better overview in a separate directory referenced in the rompath inside mame.ini (Note the _flop appended to the archive name to sign mame that this archive contains floppies for the specified device)
How to use them will be covered in the next chapter
Boot from Disk
| Rom Bios Files |
| System Disks |
- Let us start with booting up the Amstrad for the first time, For this example I've choosen the 20MByte version (any would do here)
cd <your Mame Directory>
mame pc1640hd
- You will be greeted with
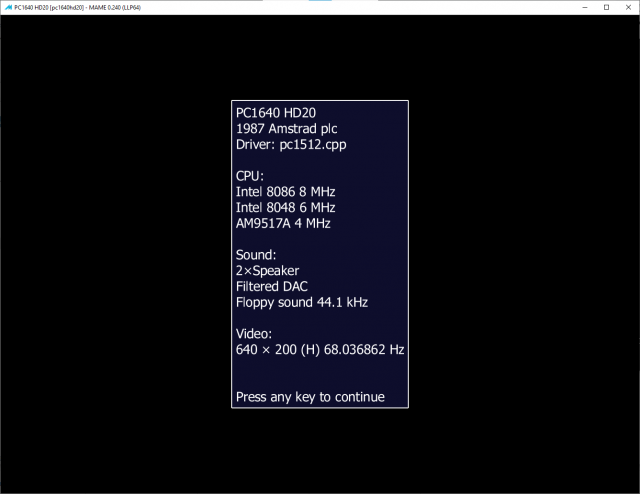 this shows that you got the BIOS Files at the correct location, you can simply press any key now
 - and will now be shown a warning
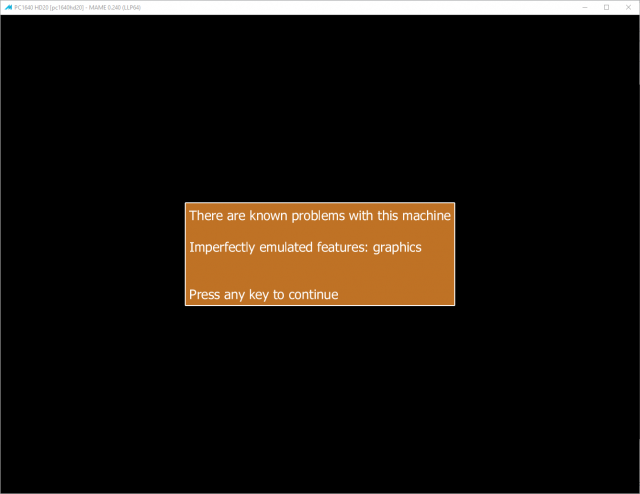
- you can simply press a key again to get rid of it and after a few moments the emulated device will ask you for a boot disk
You need to enter UI enabled mode#Useful Keyboard Shortcuts now which is by default done by pressing the <Scroll Lock> Key (again to turn it off later)
this allows you to press <tab> to bring up the Mame Menu
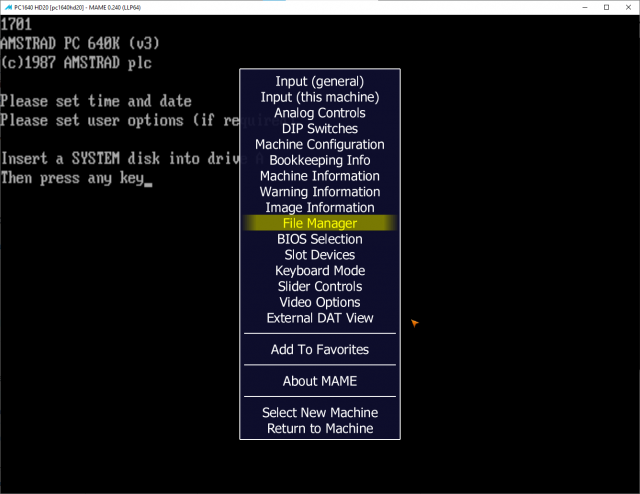
-
Outside of UI enabled mode pressing the <tab> key will simply send <tab> to the emulated machine ( it will still do this in UI enabled mode, so be aware of inputs going to the device when inside of the menu! ).
Now inside of the Filemanager Menu select the Floppy Disk Drive as target
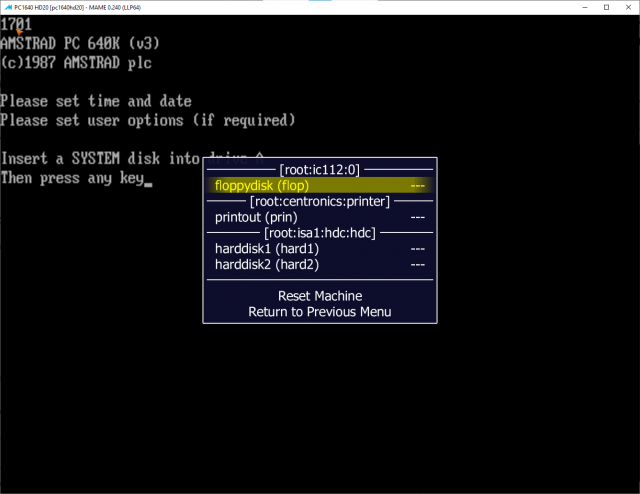
- and then we select an image from the Softwarelist
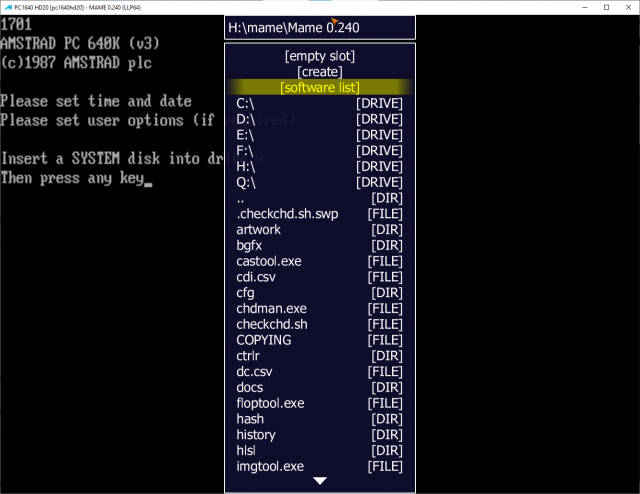
- next step is
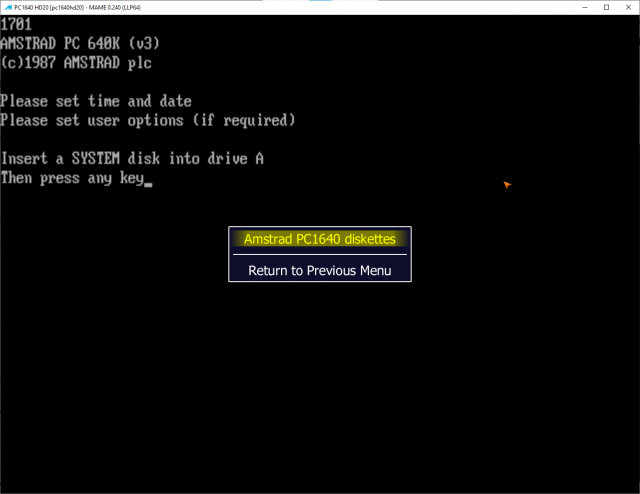 and the disk is nearly in the drive:
 -
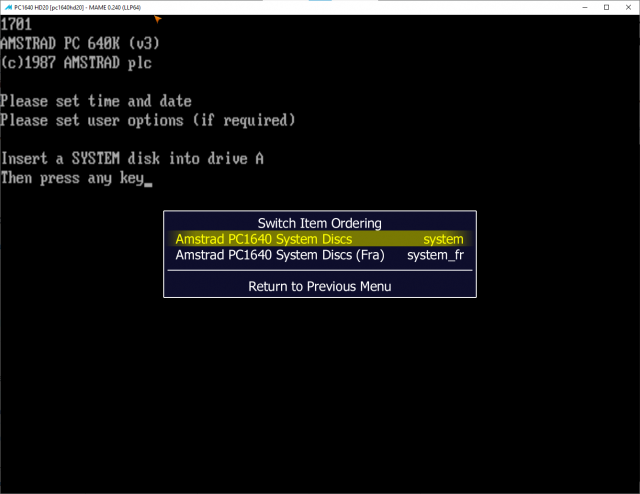
- last step now
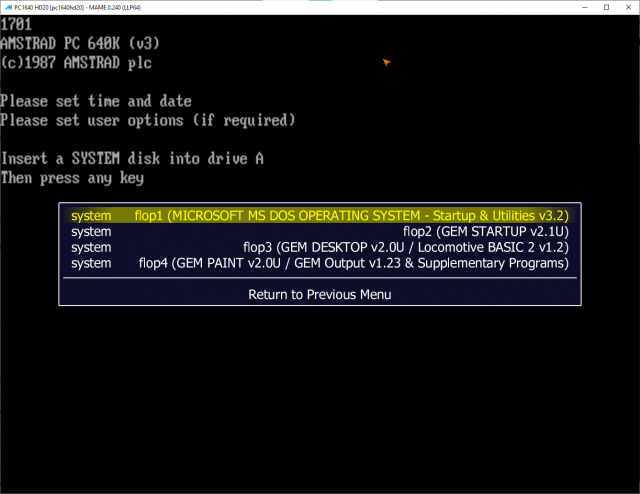 Select Disk 1 here.
 - Now you can leave the Mame UI by pressing <ESC> (do not press too often or you are closing the Mame Process!)
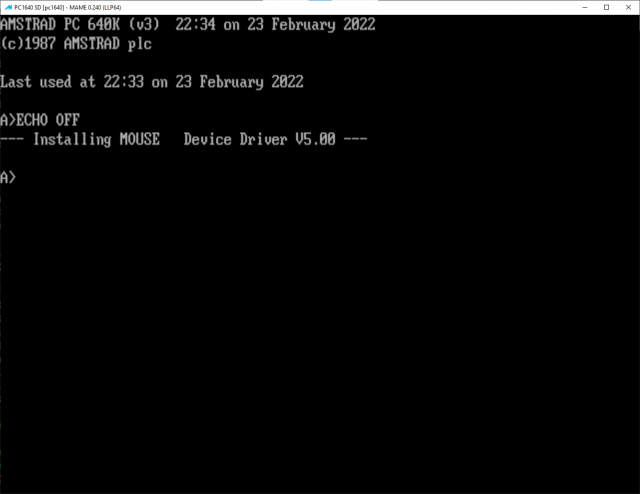
- Congratulations you made it if you see
System Hard Disks
While with the provided System Disks you can create your own harddisk installation, I am planning to provide here Basic Installations in all three available languages.
How to create your own PC1640 HDD
- Have the prerequisites ready #Prerequisites #System Disks EN,FR,DE
- Create your Harddisk Image first (I choose pc1640_hdd.chd as filename)
cd <your Mame Directory>
chdman createhd -tp 6 -o pc1640_hdd.chd
Output should lool likechdman - MAME Compressed Hunks of Data (CHD) manager 0.240 (mame0240) Template: Seagate ST-225 Output CHD: pc1640_hdd.chd Compression: none Cylinders: 615 Heads: 4 Sectors: 17 Bytes/sector: 512 Sectors/hunk: 8 Logical size: 21,411,840
- Start up Mame with your Empty Harddisk (follow #Boot from Disk ) Note we use the Device with Harddisk now!
mame pc1640hd20 -harddisk1 pc1640_hdd.chd
- You should have reached step 11 from chapter #Boot from Disk now

- Now we have to initialise the fresh Harddrive, Enter
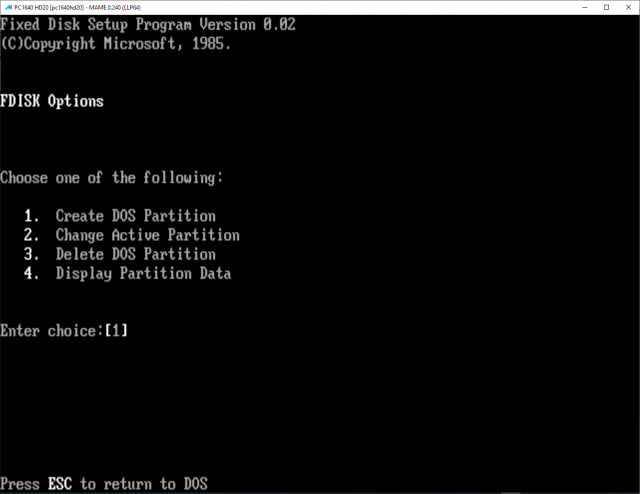
fdisk
- Select 1 here and confirm to use the entire Disk
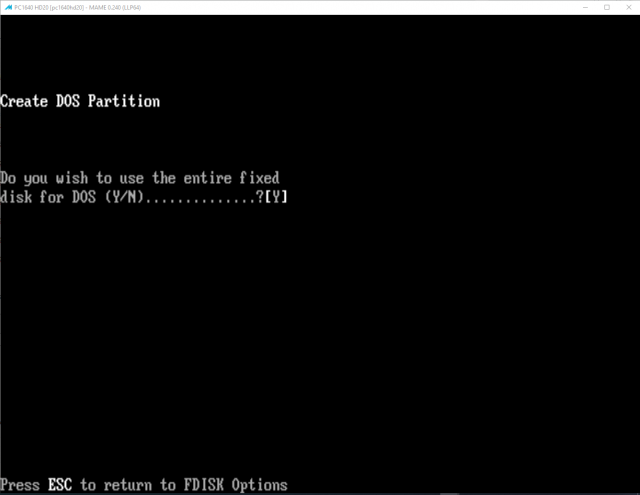
- You are requested to have a Boot Disk in Floppy Drive and press any key to reboot (You should still have it there so nothing to do here for you)
- You should be back at the DOS Prompt now, if you wish to do so you could start fdisk again and us option 4 to check the new partition, the next step will be to format the drive and copy a boot sector to the harddrive
format c: /s
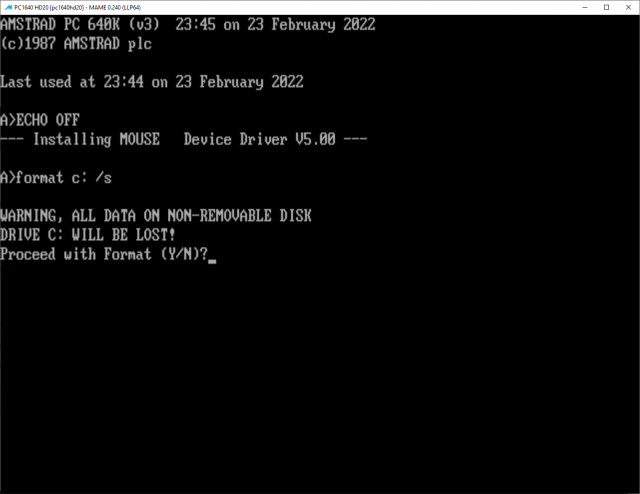
- Confirm to proceed with formatting
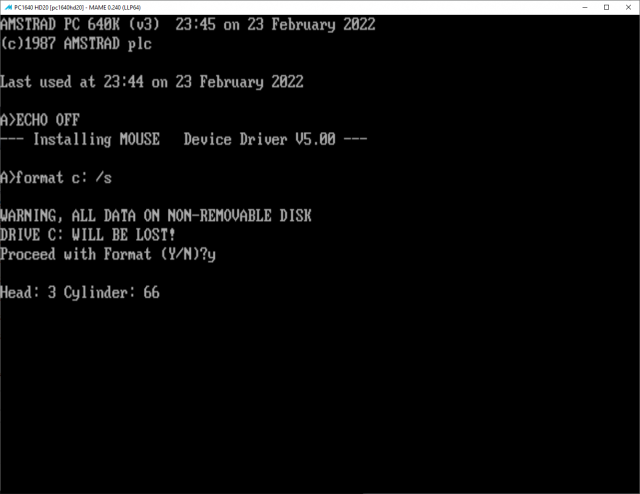
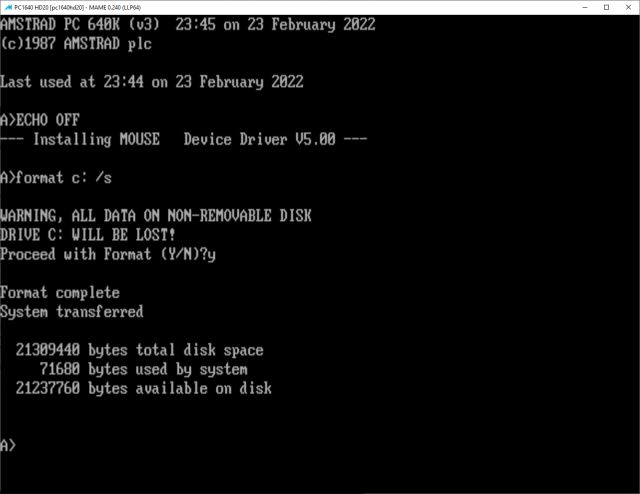 now we have formatted 20MByte Harddisk with bootable system
- Stll not finished, next thing to do is installing what we got on all 4 System Disks, first swap the disk in Floppy Drive to Disk 4
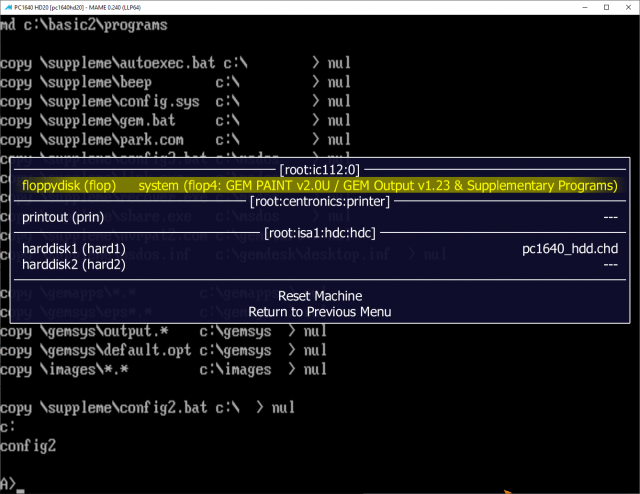 and then
cd suppleme
config
- The copy process takes some time, so just be patient and wait until the request to swap comes up
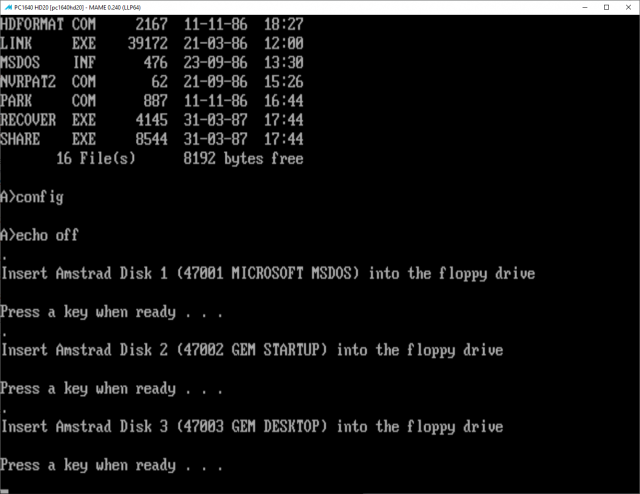
- You are finished when you see
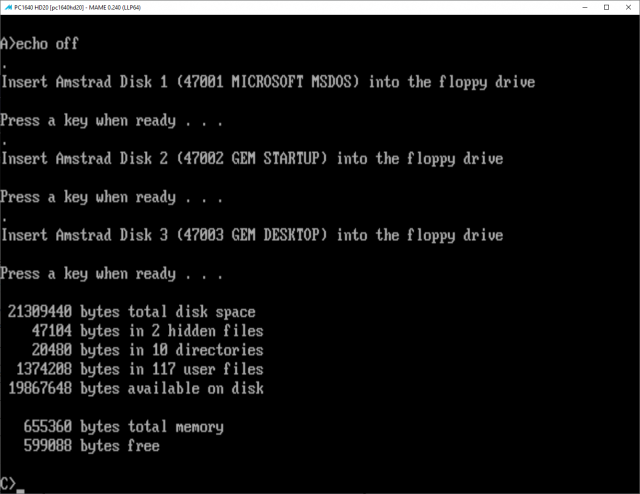
- Take Note that this process is the same for all languages, just the source disks differ, I can provide English, French and German System Disks, if you can supply more please get in contact with me in the forum so i can update the archive
Basic PC1640 HDD
Basic Mame handling of PC1640
Useful Keyboard Shortcuts
While using Mame it is always good to have these ready, note that inside the emulation the keys are not recognised by Mame until you enable UI mode!
| Key | Description (UI enabled Mode!) |
| <Scroll Lock> | Switch UI enabled/disabled |
| <ESC> | Exit Mame |
| <F3> | Soft Reset |
| <TAB> | Open/Close Mame Menu |
| P | Pause Emulation |
Supported versions of Amstrad as of Mame 0.240
get a list of available Amstrad PC1640 versions in Mame:
cd <your Mame Directory>
mame pc1640 -listclones
the output will give this information (without Notes column and minues the first row)
| Name: | Clone of: | Notes |
| pc1640 | PC1640 Single Disk version | |
| pc1640dd | pc1640 | PC1640 with Two Drives |
| pc1640hd20 | pc1640 | PC1640 with Disk Drive and 20 MByte HDD (pictured on this page) |
| pc1640hd30 | pc1640 | PC1640 with Disk Drive and 30 MByte HDD (pictured on this page) |
DIP Switches
(and Machine Configuration)
Mame will start the device without modifying them, but you will have a better experience when you adjust them to your needs.
- enable the UI mode #Useful Keyboard Shortcuts
- enter Mame Menu→DIP Switch settings
- check your values (I had my setup in german language, you probably want english instead) and adjust to your needs
- Mame Menu→Machine Configuration to
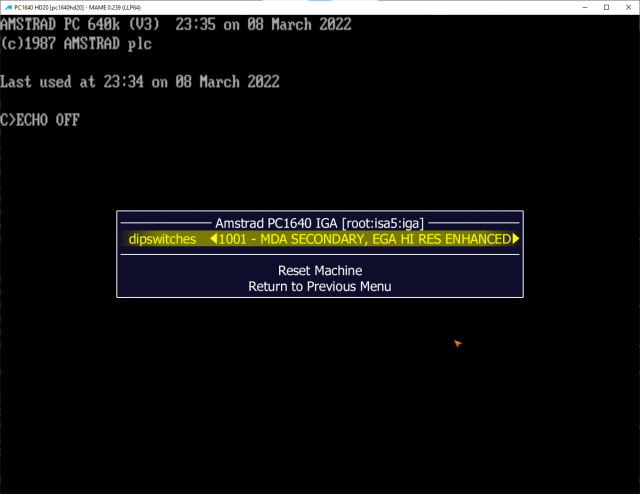
- Reset the device with <F3>
NVR
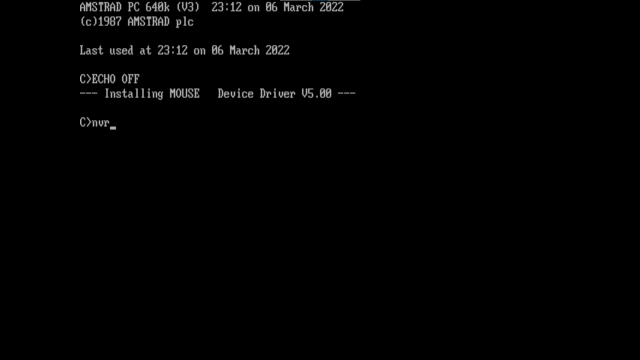
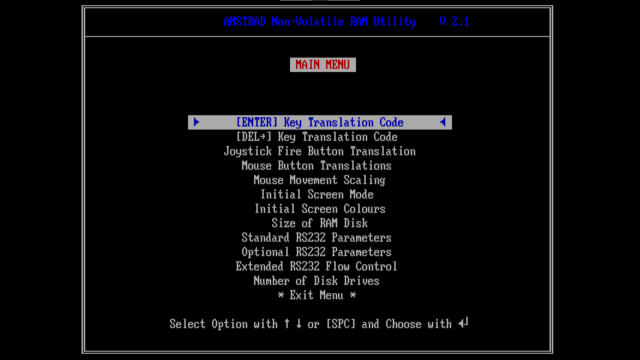
PC-XT in the 80's did have a BIOS, but they had no fancy BIOS Boot menus to enter (First PC's that had those are with 286 CPU and up). AMSTRAD decided that they wanted to offer the User something to use the Non Volatile RAM (battery buffered by cells located in the case below the monitor see second picture at the top #Amstrad PC1640 .
You can find the tool to access it on the provided system Disk 47003 (Disk 3) #System Disks EN,FR,DE and the prepared Harddisks #Basic PC1640 HDD
Known issues
- short:

- long: most often I will show some evident graphical bugs, but these are more or less to be expected due to the emulations of the graphics being imperfect as is noted in the warning, i still like to mention them
- GEM
- if you start it and it looks like check section #DIP Switches
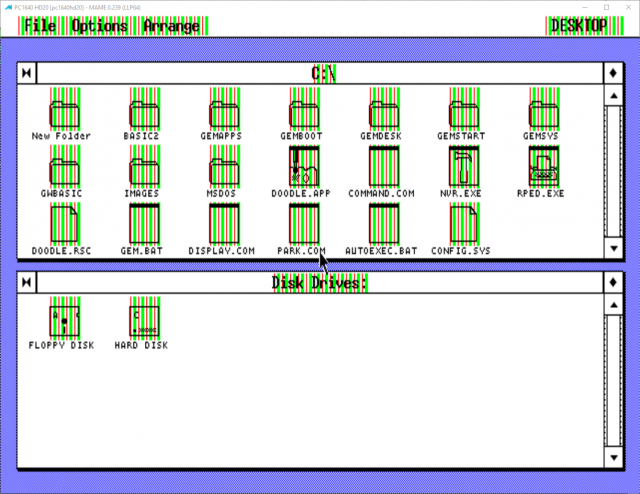
- it has to look like
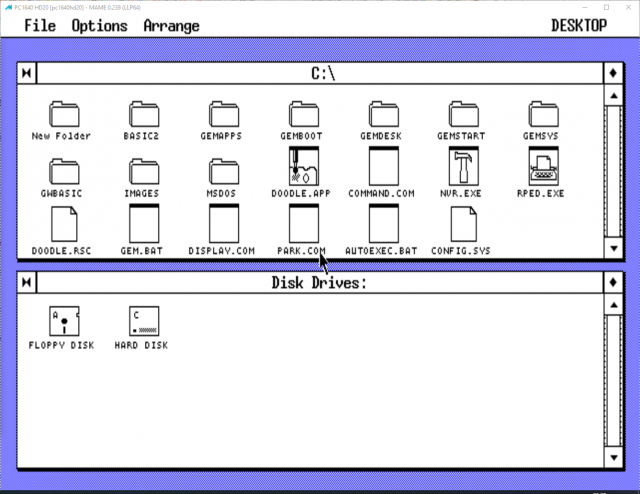
- still there is a GFX Bug in the driver
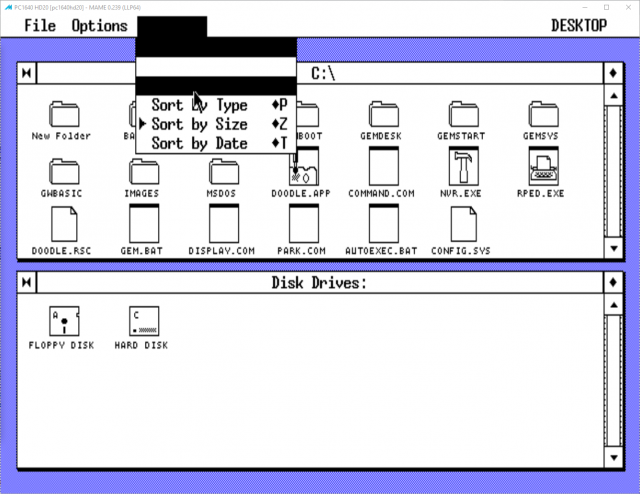
- if you start it and it looks like check section #DIP Switches
